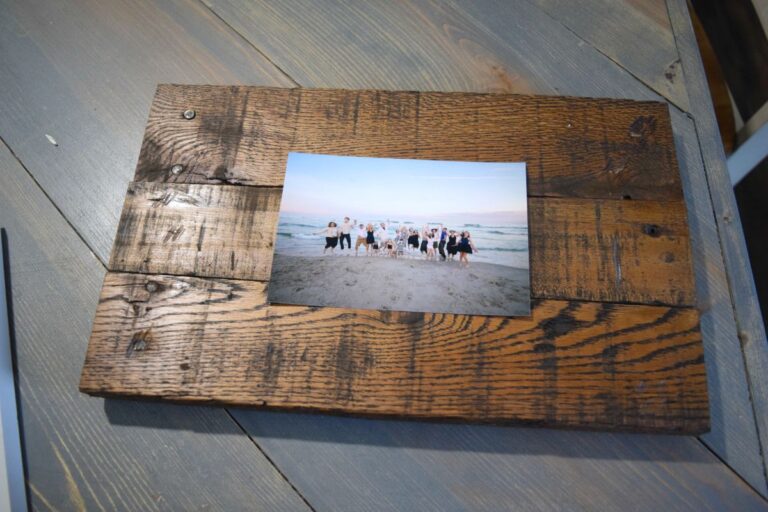
Making DIY Picture Frames

Making DIY Picture Frames - Allowing you to show life in action!
Making DIY picture frames can be a fun and rewarding DIY project, allowing you to customize frames to fit your artwork, photos, or decor. Here’s a step-by-step guide to making your own picture frames:
What You’ll Need
Materials:
- Wood (pine, oak, or any type you like)
- Wood glue
- Frame backing (cardboard or thin plywood)
- Glass or acrylic sheet (for covering the picture)
- Sandpaper
- Paint, stain, or varnish (optional)
- Hanging hardware (sawtooth hanger or D-rings)
Tools:
- Miter saw or miter box with a hand saw
- Measuring tape
- Clamps
- Nail gun or small nails and hammer
- Wood filler (optional, for imperfections)
Step-by-Step Instructions
1. Measure and Cut the Wood
- Measure your photo or artwork to determine the frame size. Add about 1/4 inch to each side to allow for the picture and backing to fit snugly.
- Use a miter saw or miter box to cut the wood pieces at 45-degree angles so they fit together like a picture frame. You’ll need two pieces for the length and two for the width.
2. Prepare the Wood Pieces
- Sand all pieces to remove splinters and ensure smooth edges.
- If you want, apply paint, stain, or varnish at this stage and let it dry completely.
3. Assemble the Frame
- Apply wood glue to the mitered edges of the pieces.
- Join the corners together to form a rectangle or square.
- Clamp the pieces in place and let the glue dry.
- For extra strength, use a nail gun or hammer to add small nails to the corners.
4. Add a Groove for the Picture
- Use a router or chisel to create a groove (called a rabbet) along the inner edge of the frame where the glass, picture, and backing will sit.
- If you don’t have a router, you can glue thin strips of wood to create a ledge.
5. Insert the Glass or Acrylic Sheet
- Cut the glass or acrylic to fit inside the frame. Be careful while handling glass!
- Place it into the groove or ledge inside the frame.
6. Place the Picture and Backing
- Position your picture or artwork on top of the glass or acrylic.
- Add a piece of cardboard or thin plywood as backing.
- Use small nails, brads, or turn buttons to secure the backing in place.
7. Attach Hanging Hardware
- Add sawtooth hangers, D-rings, or a wire to the back of the frame for hanging.
Tips for Success
- Choose the Right Wood: Softer woods like pine are easier to work with but may dent more easily. Hardwoods like oak offer durability but require more effort to cut.
- Use a Square: Ensure your frame corners are perfectly aligned by using a square tool during assembly.
- Experiment with Styles: Add decorative molding, engravings, or embellishments to make your frame unique.
Making DIY Picture Frames, with a bit of creativity and effort, you can make beautiful picture frames that enhance your home decor or serve as great gifts for anyone!
